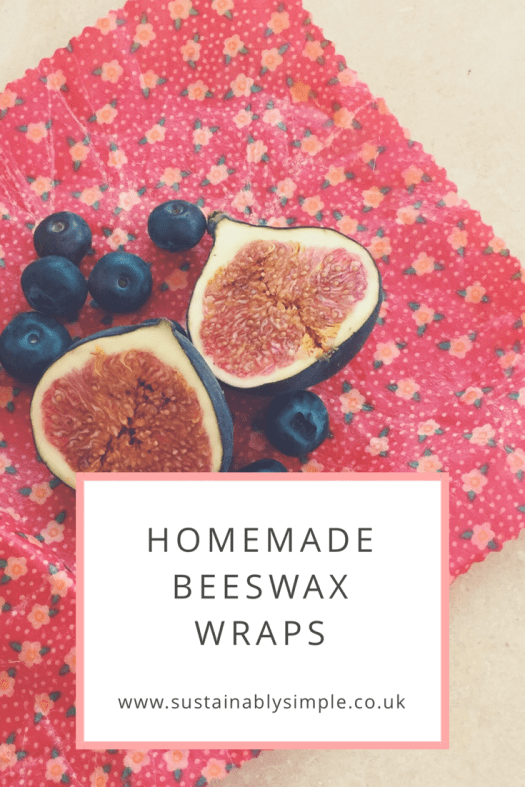
An alternative to cling film, beeswax wraps have grown in popularity this past year as consumers seek more ways to reduce their plastic consumption. Although you can buy these online I decided to get creative and make some of my own!
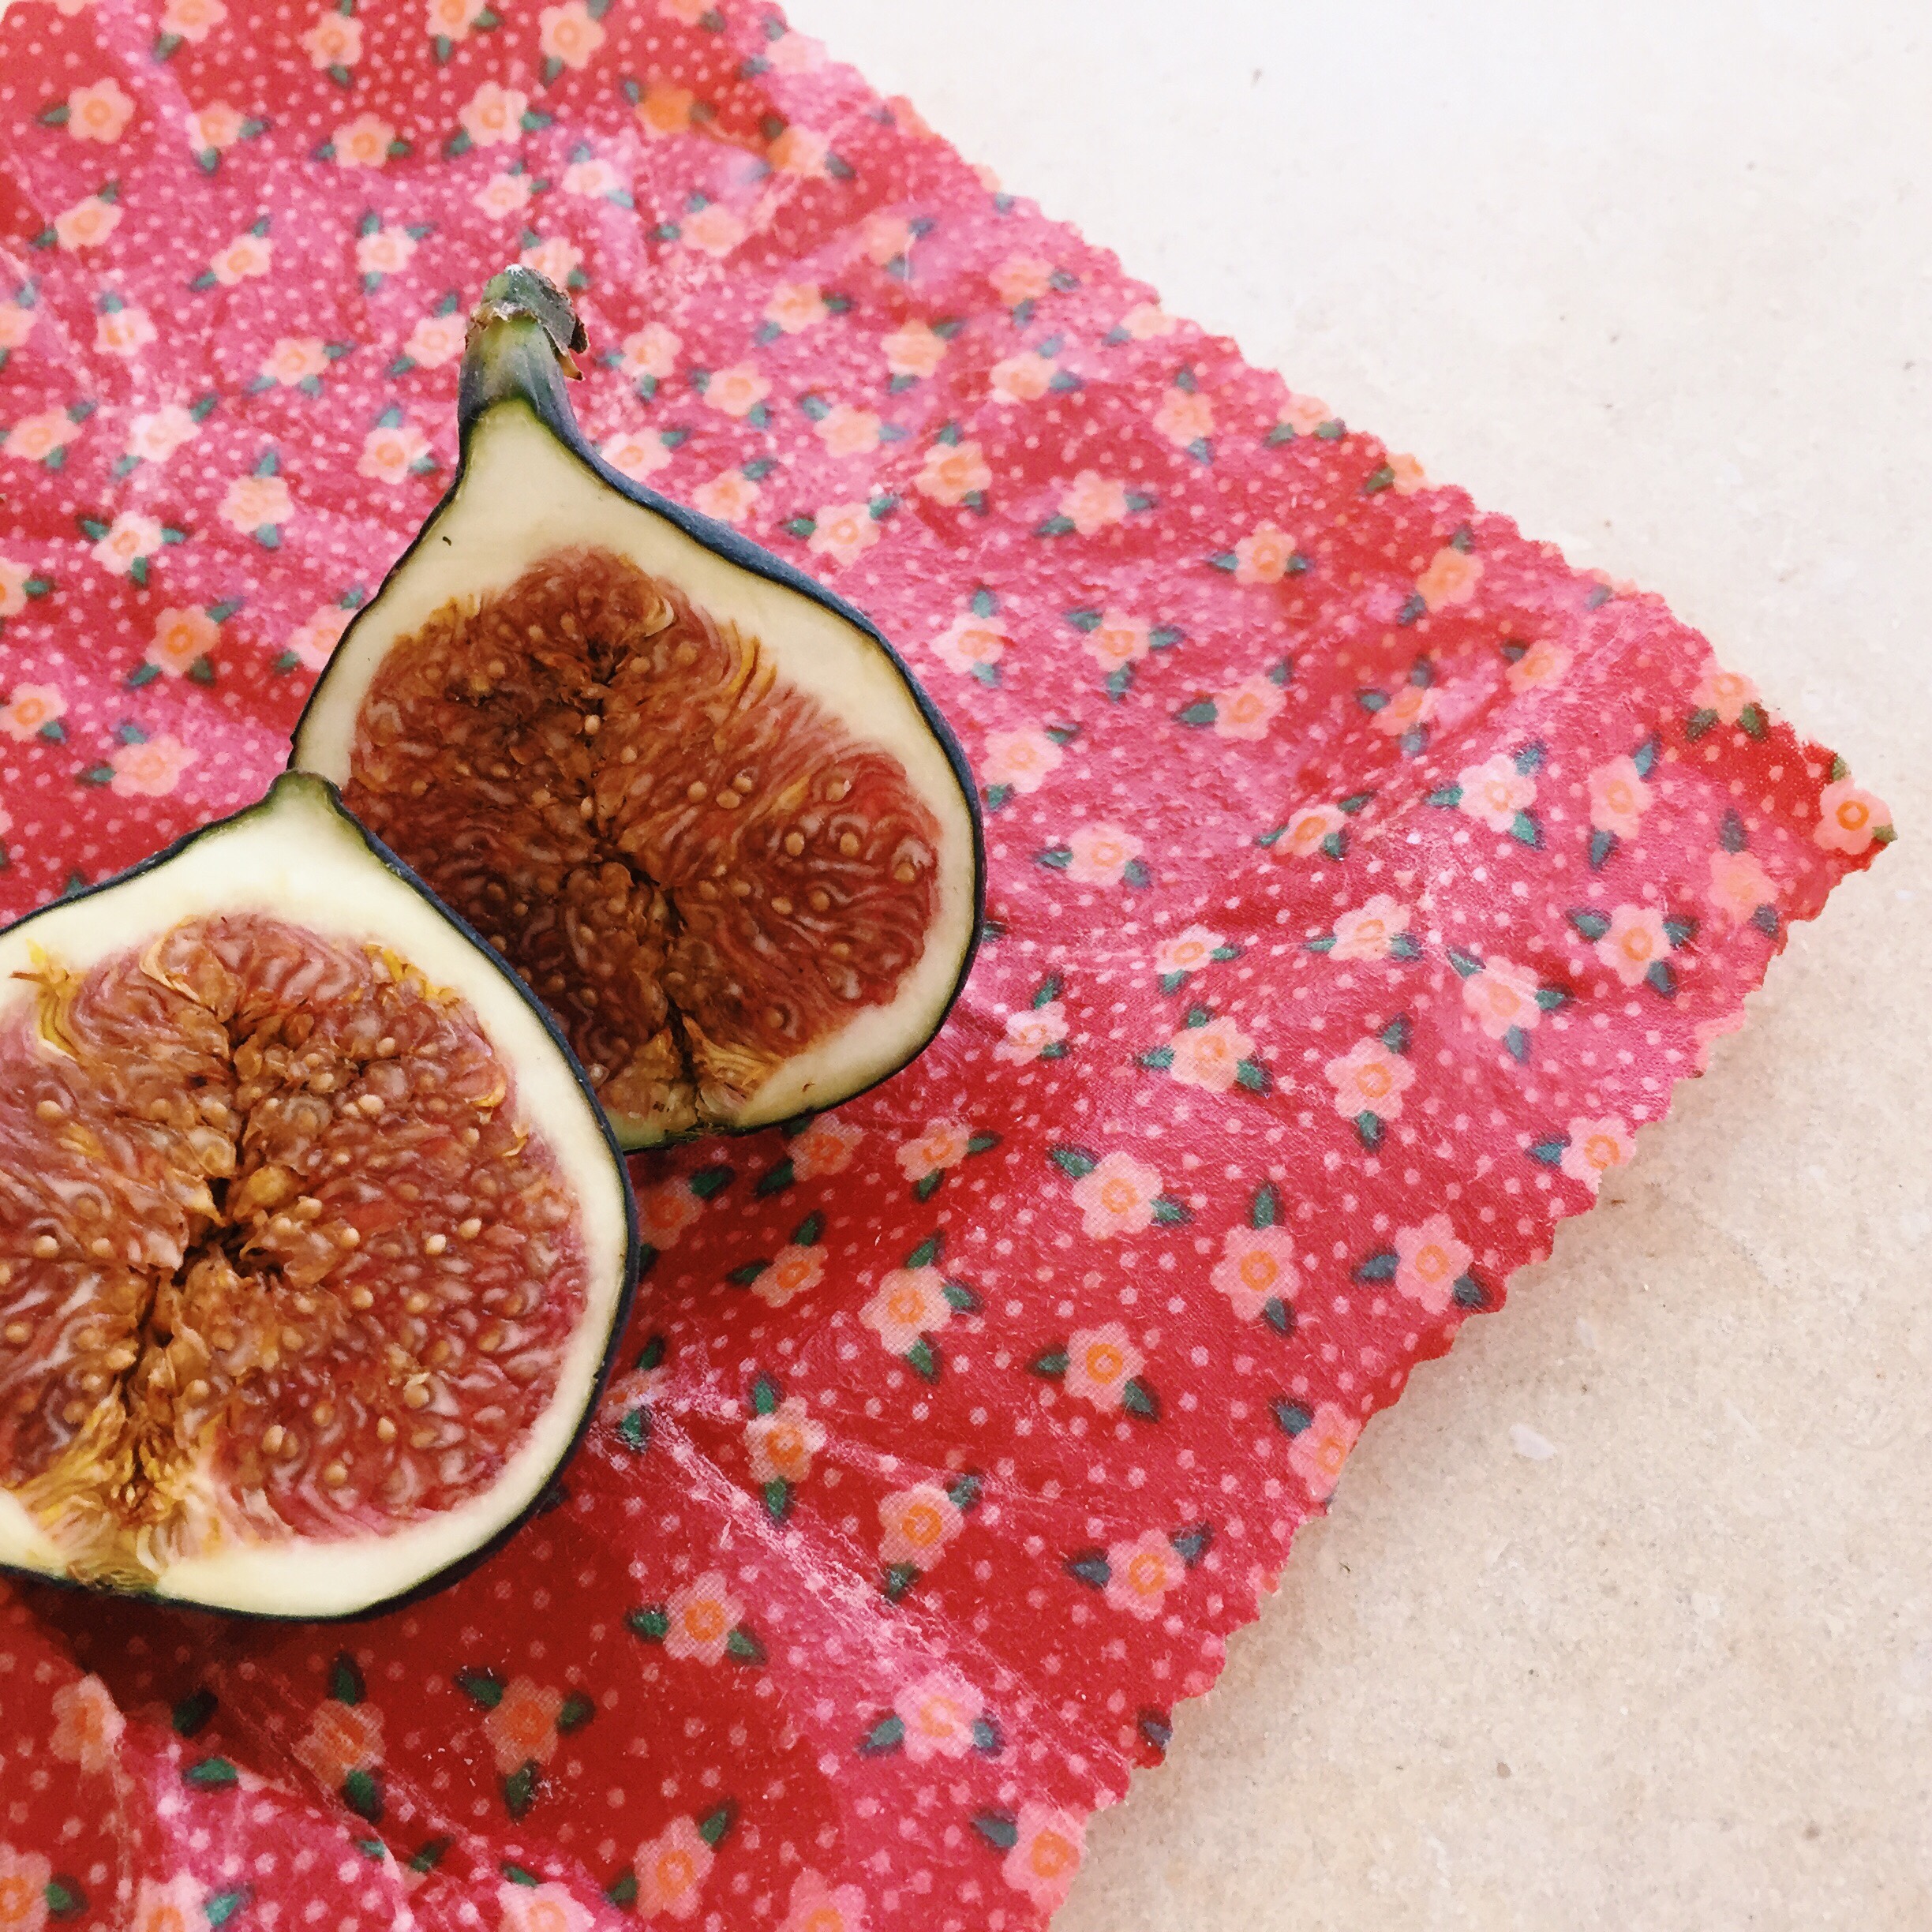
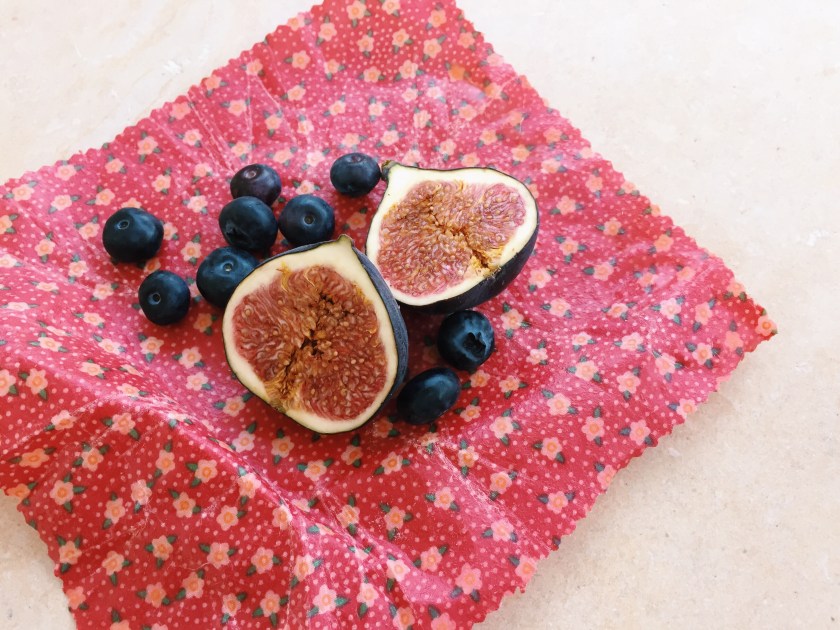
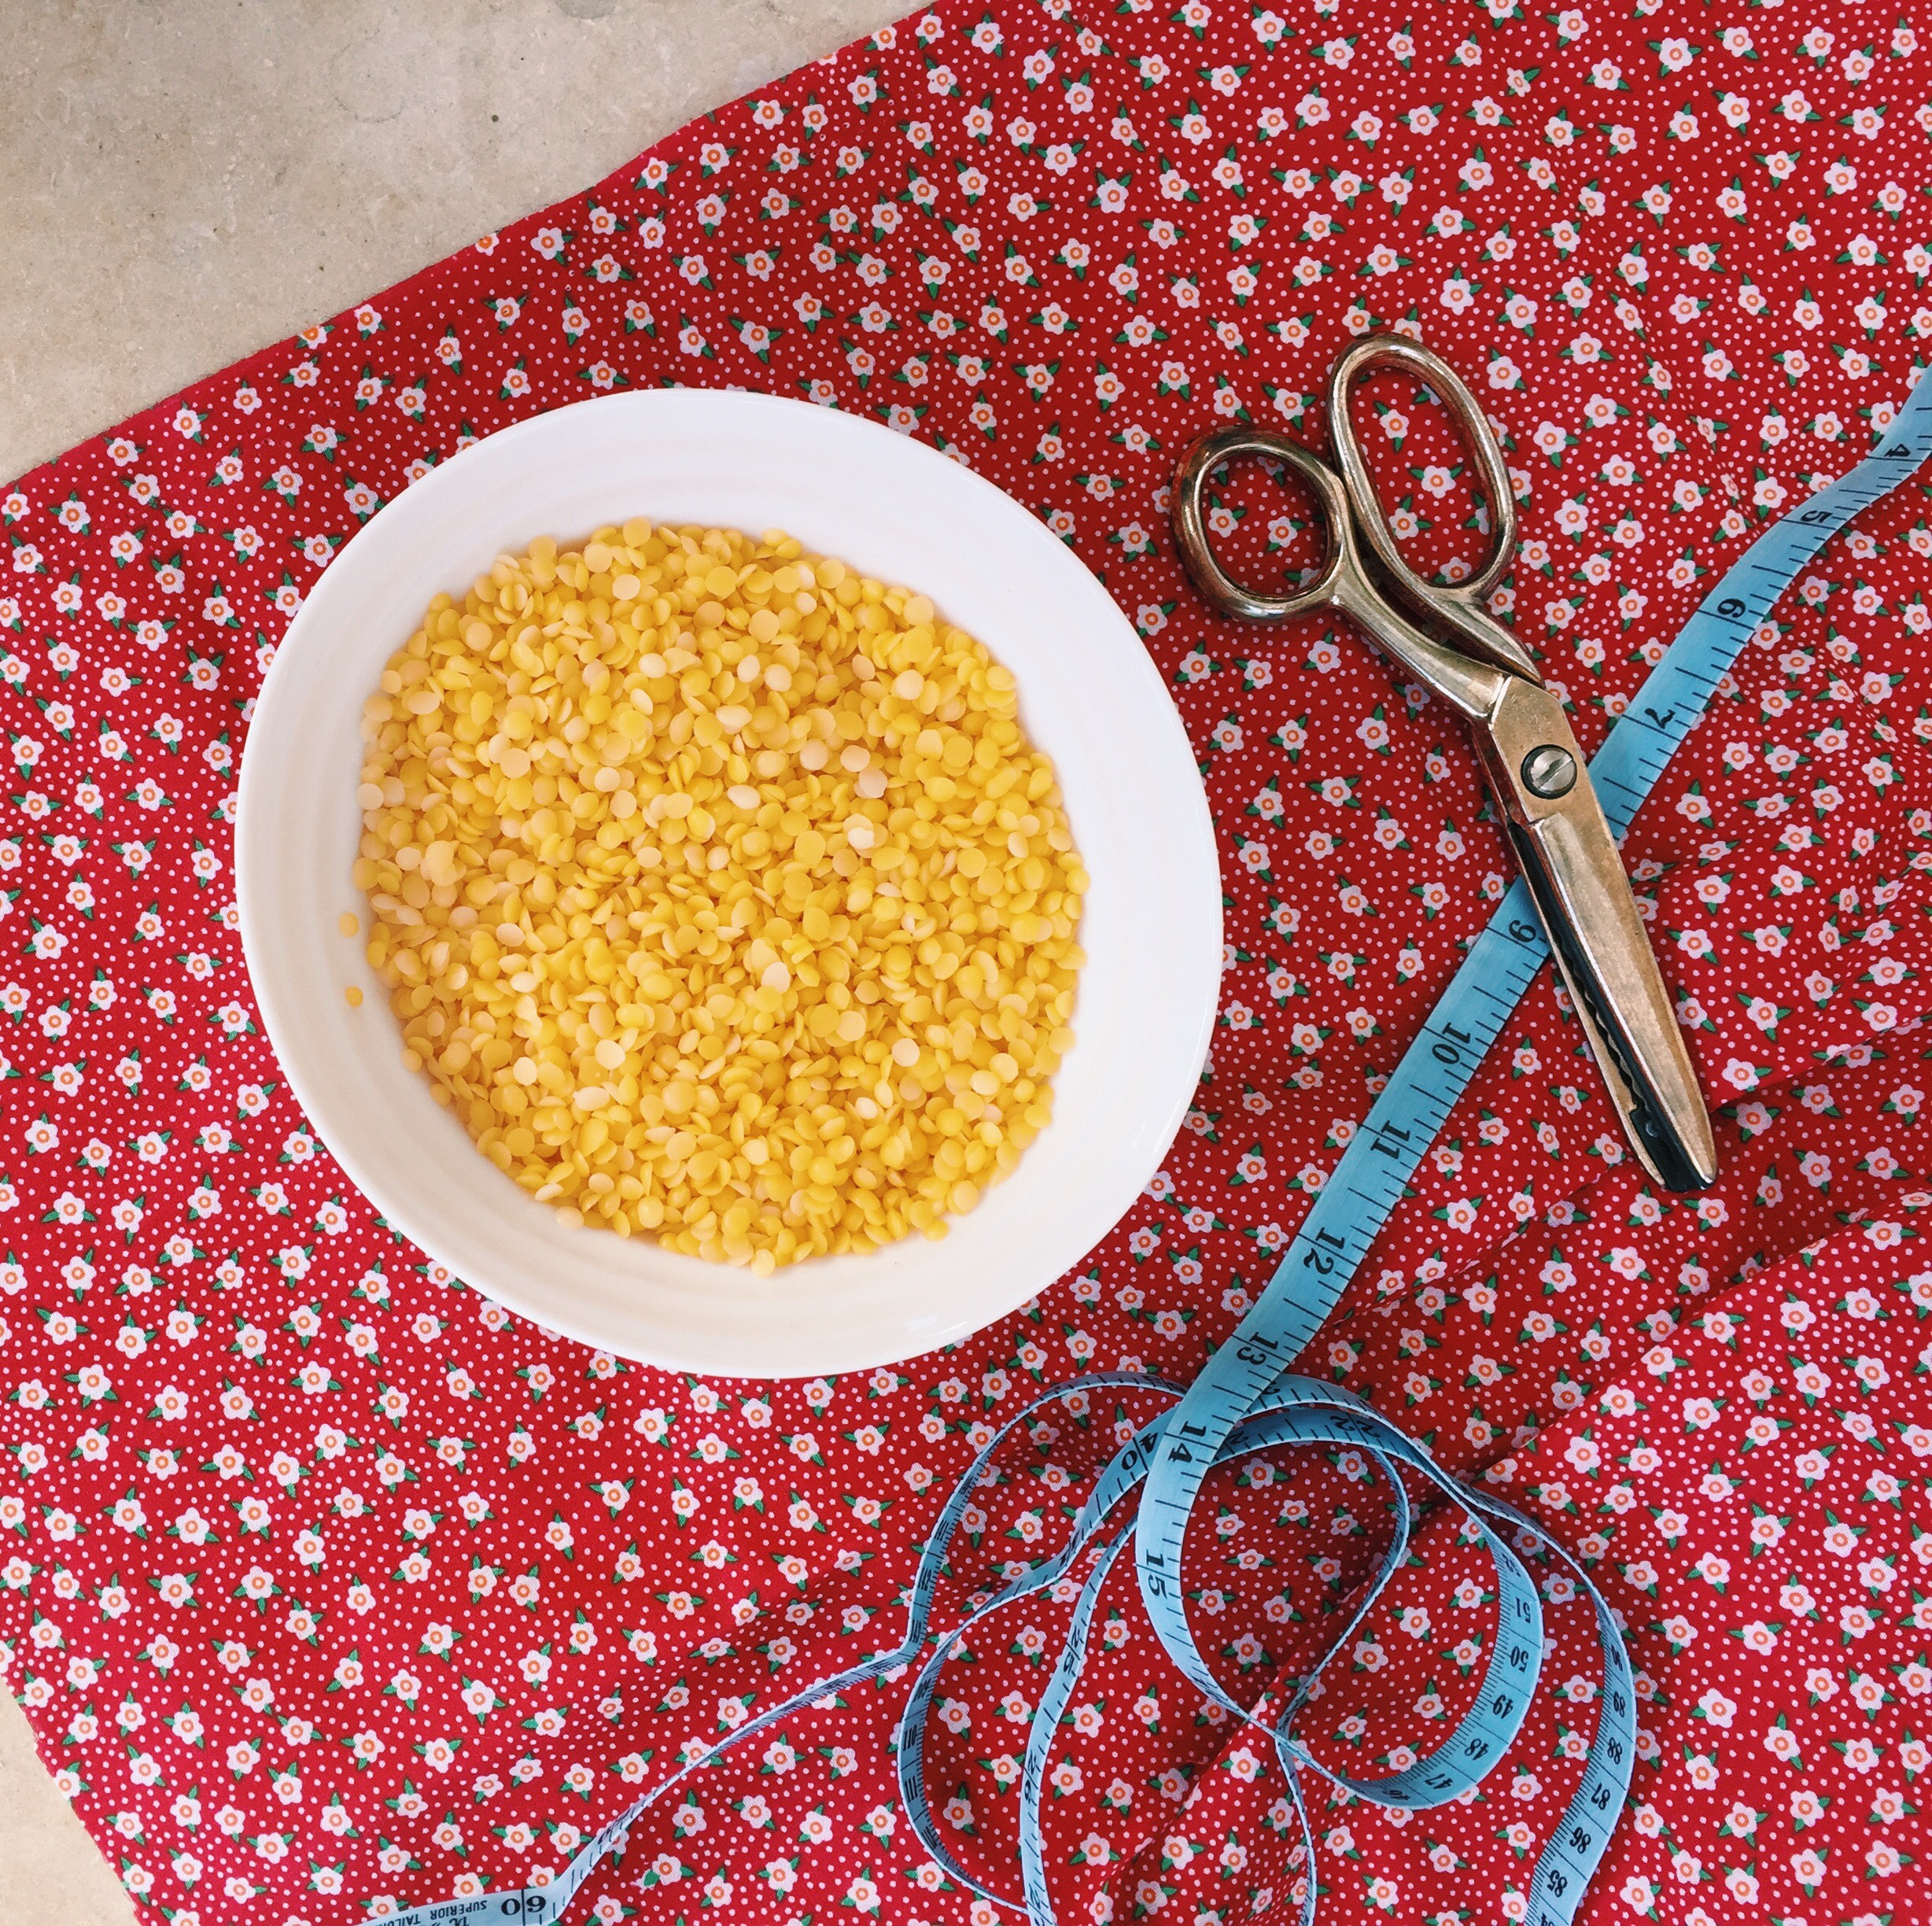
What I love most about making beeswax wraps is choosing the fabric. I really liked the pretty print on this one which I found in Hobby Craft. You could even use old fabric scraps you have lying around at home, what about going through those clothes you were about to chuck out – a floral skirt maybe or retro top?!
You will need:
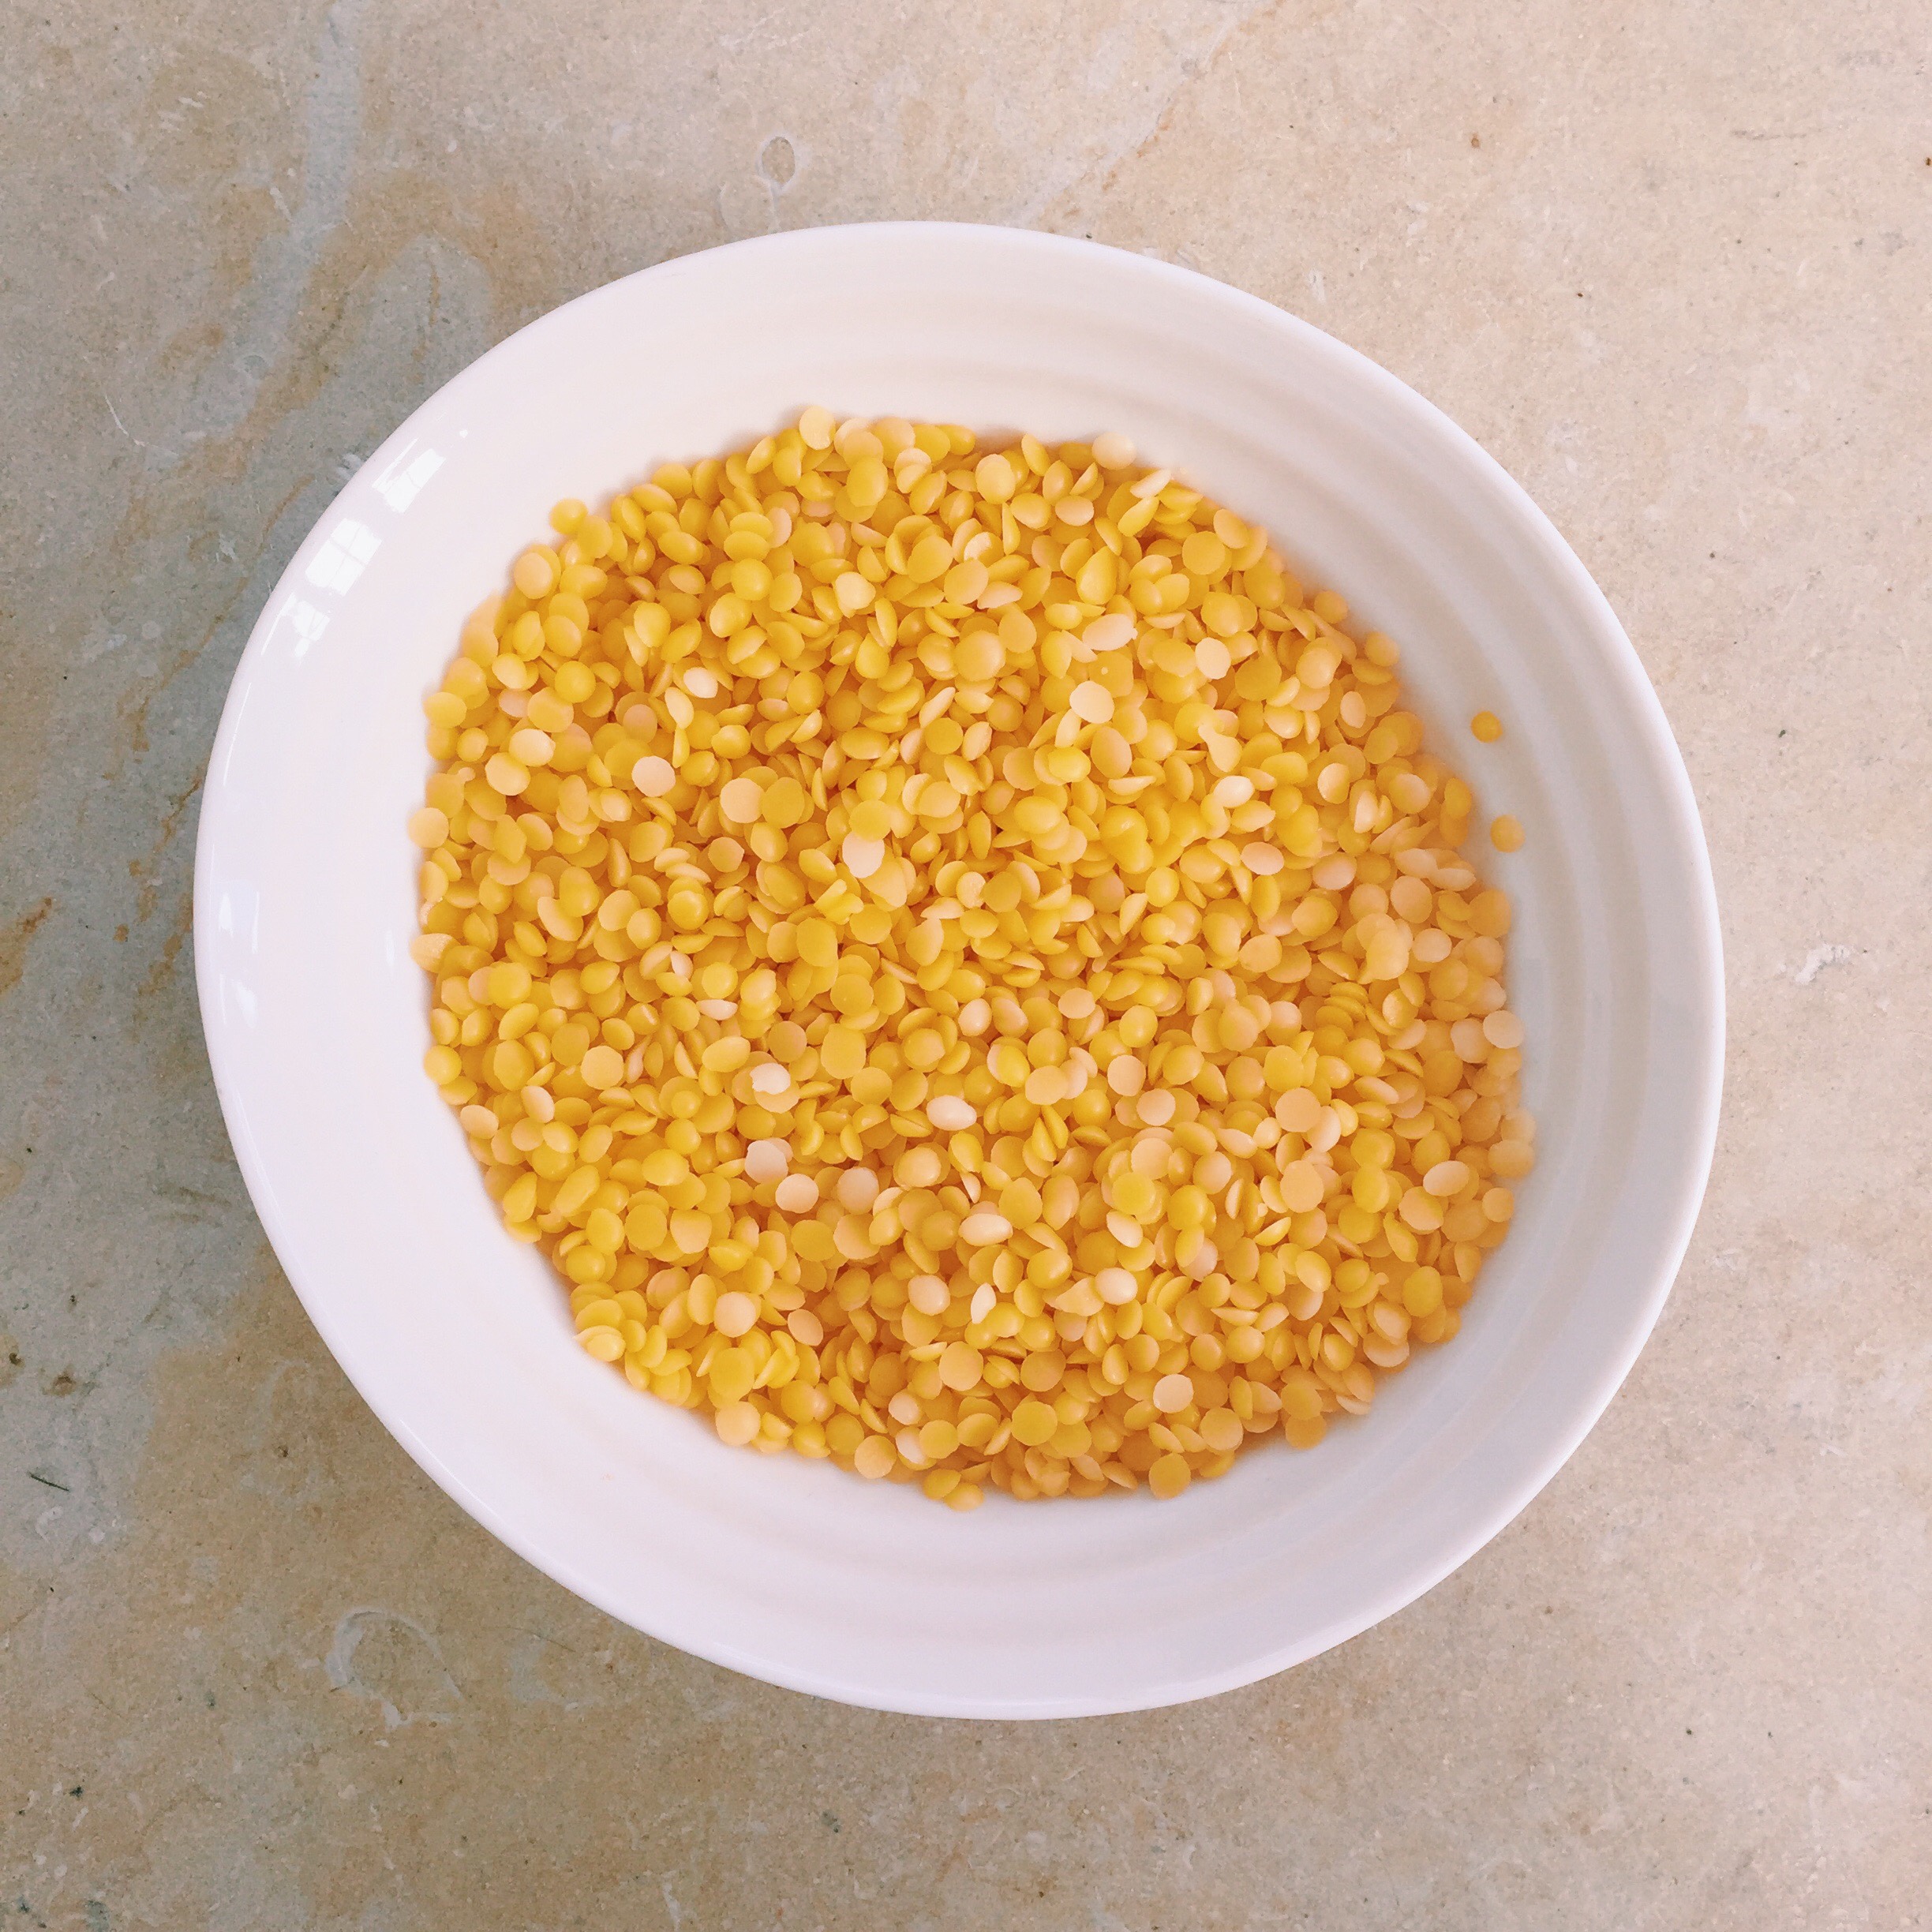
- Beeswax pellets
- Fabric
- Pinking shears (cuts the fabric without fraying)
- Silicon brush
- Parchment paper
Method:
1. Use the pinking shears to cut the fabric to any shape or size you want.
2. Lay the fabric on the parchment paper and sprinkle the beeswax pellets on top.
3. Pop in the oven (should be pre-heated to 100°C) for about 3-4 minutes.
4. Once the pellets have melted bring the tray out of the oven and use the brush to ensure the whole fabric is covered with the wax.
5. Hang to dry outside for up to an hour.
If it’s a rainy day you could hang them inside but be careful in case the wax drips – in this case I’d suggest laying some old newspaper down to avoid damaging your floor.
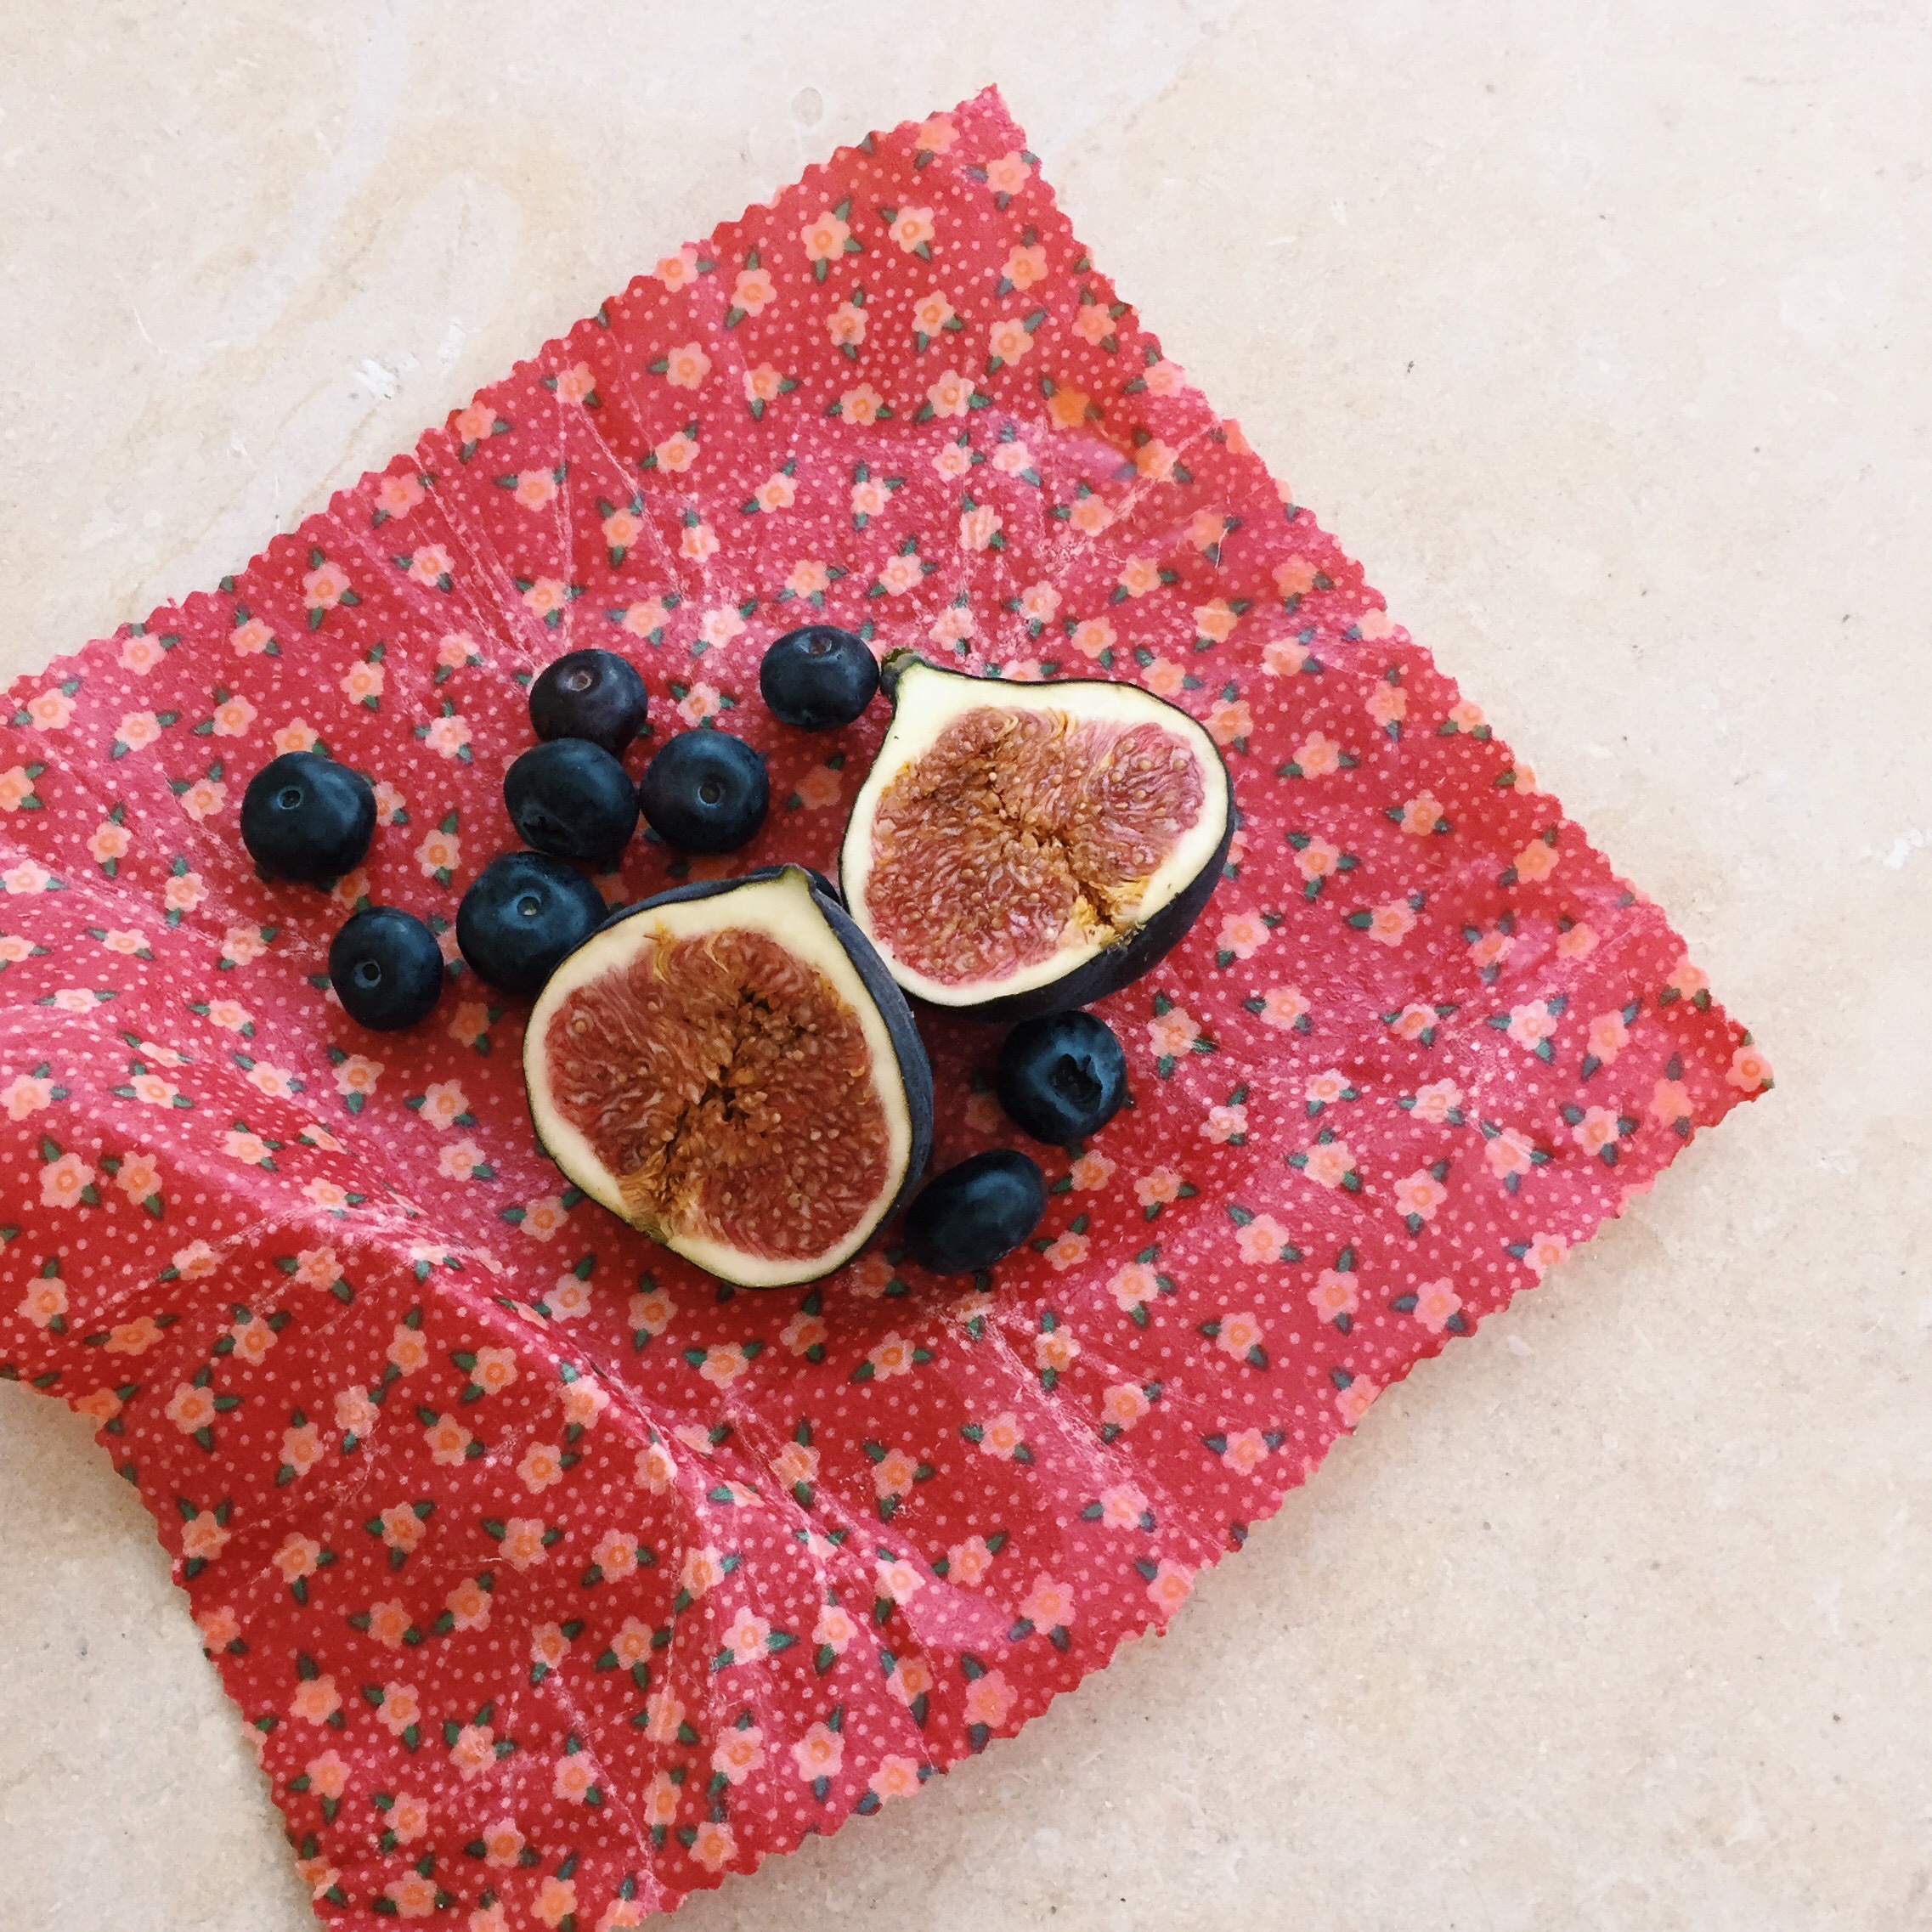
And there you have it – a piece of wax-coated fabric that you can use for food storage again and again!
Some tips for using your beeswax wraps:
- Wash with cold soapy water (hot water will melt the wax)
- Don’t wrap on hot food, let it cool first (again this will melt the wax)
- Don’t use with raw meat since you cannot sterilise them
And when you feel like it the wax is beginning to wear away you can simply re-wax it using the steps above!